
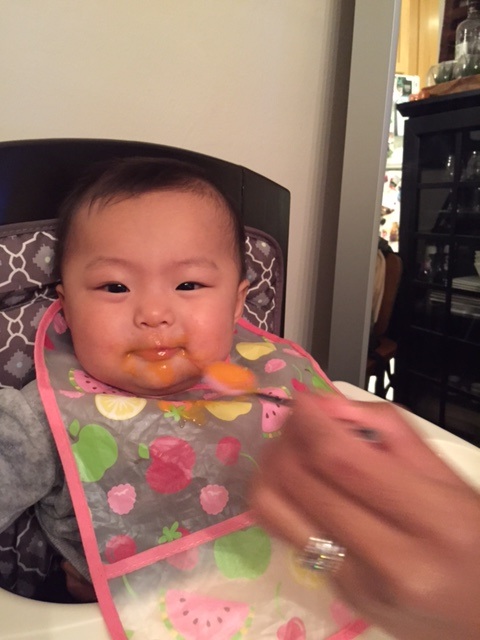
Nom nom nom. Eating for babies is such an adventure! We started feeding Dahlia solids at 6 months old. I wanted to be able to make her food knowing that the only ingredient was purely that fruit or vegetable with no added sugars or preservatives and I knew I would save some money by doing it this way too!
Making food for your baby is simple. It takes about 20 mins. to prep 1 to 2 vegetables or fruits for an entire week or two of food. Here are 5 easy steps you can do to make your own pureed baby food for stage 1 eaters.
1. Pick the Food & Be Prepared
Here is a list of good first foods:
Banana
Sweet Potato
Pear
Yellow Squash
Zucchini
Green Peas
Apples
Avocado
When starting to feed your baby solids, you want to start with a vegetable or fruit that most people may not be allergic to. You also want to pick up some baby allergy medicine just in case your baby might be allergic to.
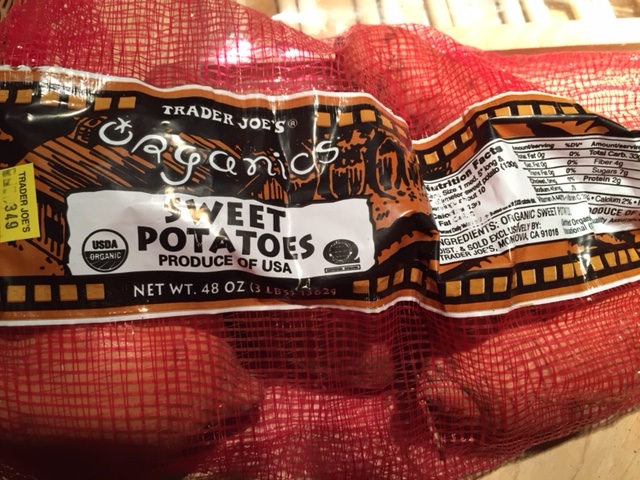
Today, I’m showing zucchinis and sweet potatoes. I normally shop at Trader Joe’s because portion-wise it’s smaller and not expensive. I got this pack of organic zucchinis for $2.99 and a pack of organic sweet potatoes for ~$3.99. I used 2 zucchinis that lasted a week and 2 sweet potatoes that lasted 2 weeks! That’s 3 weeks of food for baby for under $5. We also used the rest for dinners for ourselves 🙂

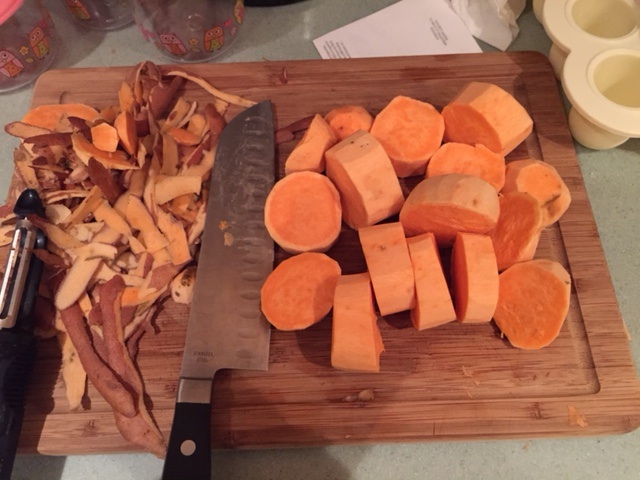
2. Peel & Cut
If you want, you can peel the fruit or vegetable, clean it and cut. Zucchinis already retain a lot of water so you don’t need to cut them too thin, but sweet potatoes should be a bit thinner.

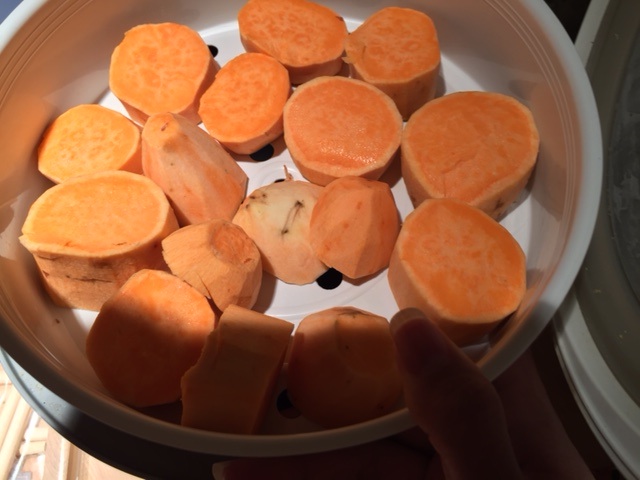
3. Steam
Next, you want to steam the vegetable or fruit. I actually have a rice cooker that came with a steam tray, which makes it super easy to steam. You can also steam on the stove with a pot and strainer atop holding the food. The average time to steam would be about 8 mins. or until soft. If you are choosing the avocado or banana, however, you will not need to steam.

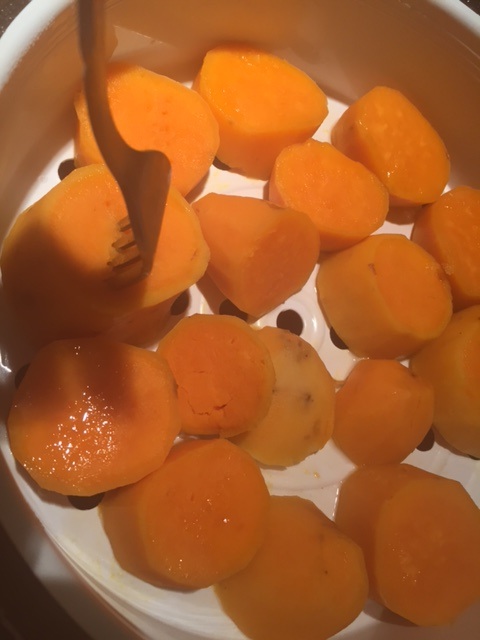
When you have completed steaming, fork through the fruit or veggie to see if it is soft enough for the blender.

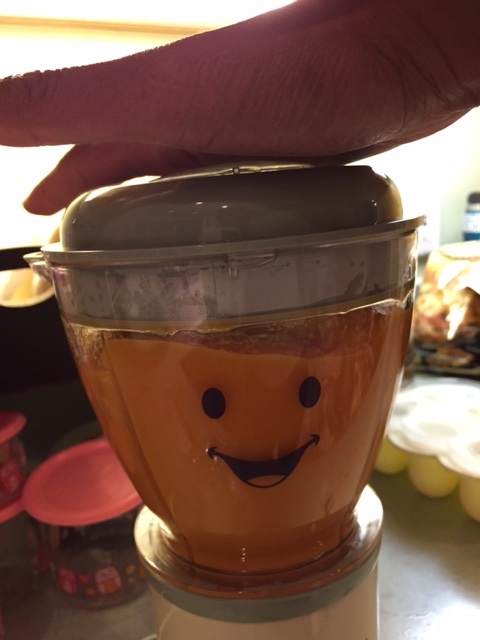
4. Blend
Next, you take the fruit or vegetable in any blender you have with some water to thin the puree. I used our Baby Bullet, but any blender will work.

5. Separate, Store and Enjoy!
Once you’re done blending to a nice puree, you can pour into storage containers in the fridge or freezer. Ice cube trays are also good portion sizes for Stage 1 eaters. If you get the Baby Bullet, it comes with these super cute containers & a freezer tray.

Last, but not least, Baby can enjoy! Nom nom nom!

AND…
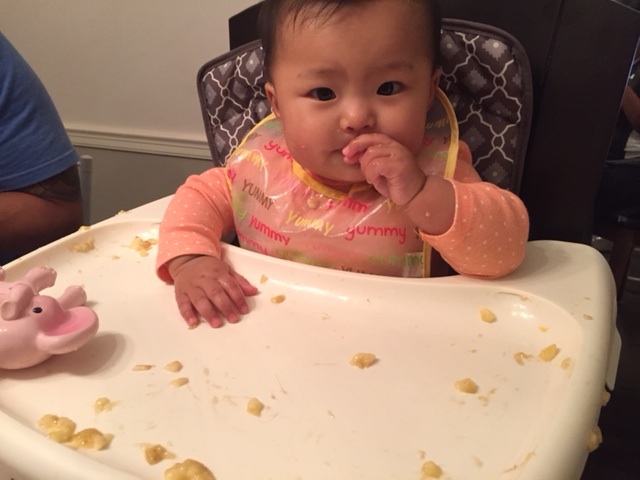
If purees aren’t something your baby isn’t interested in, try looking into Baby Led Weaning. Just today (at 7 1/2 months), we tried giving Dahlia some banana and she loved it, but please read up on Baby Led Weaning before you try it to fully understand it.

Lastly, during stage 1, their main source of food & nutrition should still mainly be from milk. Solid food is just an added bonus as well as a learning experience. And remember, each family has their own choices for what they want to do, but whatever you choose to do, be present when your baby eats and snap some photos for this very special time in their lives!
Have fun & happy eating!

Aplastic anemia, agranulocytosis, pancytopenia, bone marrow depression, thrombocytopenia, leukopenia, leukocytosis, eosinophilia, acute intermittent porphyria cialis for daily use